Photo by Jonathan Velasquez on Unsplash
As a voice actor, your microphone is the bridge between your performance and your audience, capturing every nuance and emotion in your voice. However, the quest for a high-quality microphone often comes with the misconception that you need to spend a fortune to achieve professional results. I’m here to debunk that myth.
My Go-To: The Rode NT1
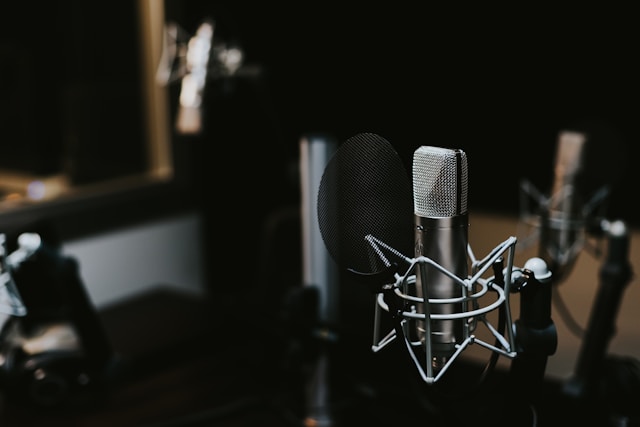
Let me start with my current mic—the Rode NT1 5th Generation. This microphone strikes a perfect balance between quality and affordability, making it an excellent choice for both budding and experienced voice actors. The Rode NT1 offers a warm, natural sound and an incredibly low self-noise level, which means your recordings will be clean and clear without any distracting background hiss. I purchased mine for $250 which included a shock mount and pop filter.
Understanding What You Need
When shopping for a microphone, it’s essential to understand what you need for voice acting. Here are some key factors to consider:
Sound Quality
Look for a microphone that captures the full range of your voice accurately. It should highlight the richness of your lower tones and the clarity of your higher pitches.
Self-Noise Level
This refers to the inherent noise produced by the microphone itself. Lower self-noise levels are crucial for a clean recording, especially in a home studio setting. I had significant self-noise issues with my original microphone–a Behringer C1. When selecting the Rode, this was major concern in my research.
Durability
A good microphone is an investment. Ensure that it’s built to last, so you don’t have to replace it frequently.
Condenser
A condenser microphone is ideal for voice-over recordings due to its high sensitivity and ability to capture a wide frequency range with great detail and clarity.
Affordable Microphones That Deliver
Aside from the Rode NT1 (5th Gen), there are so many other budget-friendly microphones that will provide excellent performance for voice acting (at least according to the internet). If you’ve already done some research, you may have seen some other lists that suggest a USB mic as a decent option for getting started. I disagree. If you are serious about pursuing voice acting as a full time gig, avoid anything that might compromise your sound quality. After all, what you record is ultimately is the product that you are selling.
Look for a large diaphragm condenser mic that connects to your system via an XLR connection. While this type of mic requires power via an audio interface, it will provide you with the most flexibility in sound capture, overall quality, and ease with post production.
- MXL 990
- Price: Around $100
- Features: Warm sound, good for capturing vocal nuances, comes with shock mount and case.
- Noise floor: 20 dBA
- Audio-Technica AT2020
- Price: Around $100
- Features: High SPL handling, wide dynamic range, clear sound quality, great entry-level mic for voice recording.
- Noise floor: 20 dBA
- Audio-Technica AT2035
- Price: Around $130
- Features: Switchable 80Hz high-pass filter, 10dB pad, versatile and clear sound, excellent for detailed vocal work.
- Noise floor: 12 dBA
- Lewitt LCT 240
- Price: Around $140 (includes shock mount and pop filter)
- Features: Clear and detailed sound, robust build quality, making it a strong contender for voice acting. A note about this mic: it has a very unique shape and on-stand configuration. You may have some positioning issues if you’re planning to attach to a boom arm.
- Noise floor: 19 dB
- Video review (you may find this helpful)
- Rode NT1 5th Generation (my recommendation)
- Price: Around $250 (includes shock mount and pop filter)
- Features: Extremely low self-noise, clear sound, very popular among voice actors for its detail and clarity.
- Noise floor: 4 dBA
- 2 reviews: An in-depth review focusing on its 32-bit float feature and another review that convinced me to buy this mic.
Tips for Getting the Best Out of Your Microphone
The following are all things that you can research on your own but are also things that a coach can help with. I encourage you to take advantage of their expertise to get your space set up correctly, help you with proper mic technique and suggest from quality equipment before you start spending money.
- Optimal Recording Space: No matter how good your microphone is, poor room acoustics can ruin your recordings. You want to focus on isolating the space from outside noise and capturing echo and reverberations within the space itself. It may be cliche, but my studio is set up in a closet. I found an old feather duvet that I doubled over to surround the space behind my microphone. It works so great! Don’t assume you need to spend money. First, experiment with things you already own.
- Proper Technique: Learn the best practices for using your microphone. Maintain an appropriate distance (usually about 6-12 inches) and use a pop filter to reduce plosive sounds. Mic placement (e.g. rotate away) can also help with reducing unwanted plosives and sibilance.
- Interface and Preamp: Pair your microphone with a decent audio interface and preamp to ensure the best possible sound quality. I use a Focusrite Solo 3rd Gen.
- Regular Maintenance: Keep your microphone clean and handle it with care. Dust and moisture can affect its performance over time.
You don’t need to spend thousands of dollars to get a microphone that will make your voice shine. Microphones like the Rode NT1, Audio-Technica AT2020, and others in their league provide excellent sound quality without a hefty price tag. By understanding your needs and making informed choices, you can achieve professional-level recordings on a budget. Happy recording!

